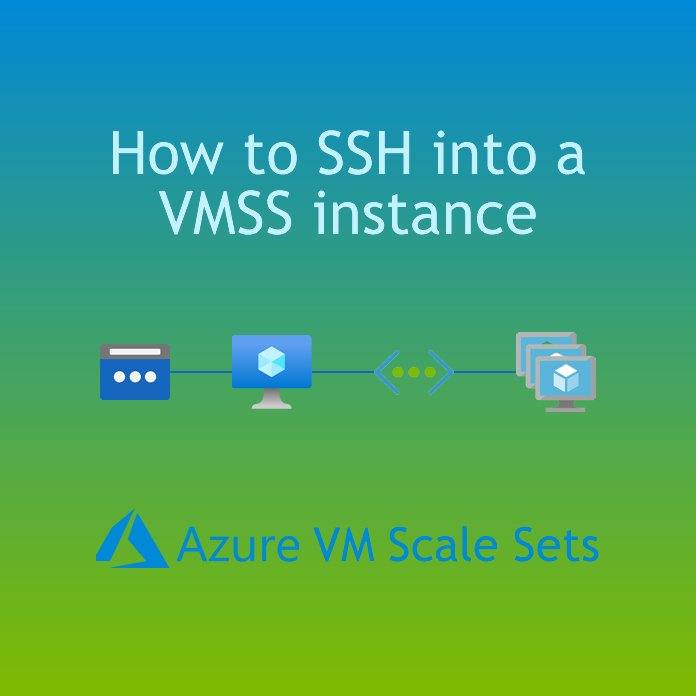
Instances can be accessed individually through an intermediary jumpbox VM, or commands can be remotely run as the root user by using the Azure management SDK.
NOTE: The jumpbox VM must be on the same virtual network as the VMSS!
Horizontal Scaling
Scale Sets meet the very definition of horizontal scaling. Instances can be created on the fly, by configuring Custom autoscale.
For an introduction to Custom autoscale, watch this video:
www.microsoft.com
Alternatively, you can use Manual scale to set the exact number of instances to run.
VMSS does not do Vertical Scaling!
Horizontal scaling means adding additional (duplicate) resources to provide more computing power. Vertical scaling is the opposite, increasing computing power on the same resource.
Think of it like a CPU... overclocking your single-core 3Ghz CPU to 4Ghz is vertical scaling. But making your CPU a dual-core or quad-core, but keeping the speed the same - this is horizontal scaling.
With a scale set, you are simply adding extra machines to cope with the load.
Create VMSS Infrastructure
You'll need familiarity with Azure Portal to do this, as I won't describe each step in detail.
It's important to do the steps in the correct order, to get a clearer idea of how things work.
Let's start in the portal: portal.azure.com
Step 1 - Create a resource group
You should create a resource group for this, and choose ONE region, as the Public IP, VNet, VM and VMSS must be in the same location.
Step 2 - Create a Public IP address
Click the + Add button inside the resource group, and search for Public IP address.
Find the one published by Microsoft and click Create
- IP Version: IPv4
- SKU: Standard
Step 3 - Create a Virtual Network
- Region: Select the same region as the Public IP address
- IPv4 address space: 10.20.30.0/24
- Add a subnet: 10.20.30.0/24
The address space here is arbitrary, as is the subnet. The only important thing is that the subnet sits within the address space - otherwise it will not validate.
Step 4 - Create a Virtual Machine Scale Set
When adding a new resource, go to the Compute section in Azure Marketplace and locate Virtual machine scale set.
- Region: Select the same region as the VNet you just created
- Image: Ubuntu Server LTS
- Authentication type: Password
- MAKE A NOTE of your Username and Password!
- OS disk type: Standard SSD (to save costs)
- Virtual network: Select the VNet that you just created
- Initial instance count: 2
- Scaling policy: Manual
Deployment of a VMSS usually takes a while. In the meantime, you can still go back to your resource group and add the next resource.
Step 5 - Create a Virtual Machine (Jumpbox)
In the Azure Marketplace, go to Compute and select Virtual machine.
- Region: Select the same region as the VMSS you just created
- Image: Ubuntu Server LTS
- MAKE A NOTE of your Username and Password!
- Public inbound ports: Allow selected ports
- Select inbound ports: SSH (22)
- OS disk type: Standard SSD (to save costs)
- Virtual network: Select the VNet that you just created
- Public IP: Select the Public IP that you created earlier
When all resources are created, go back to your resource group, it's Go-Time!
Jump into your Jumpbox
Locate your VM in the resource group and click on it.
Take a look a the Public IP address and make a note of it.
Press and hold the windows key, then press R. Type "cmd" and hit [OK] to open Command Prompt.
Type the following command:
ssh myuser@#.#.#.#
Where myuser is the username you created for the virtual machine, and #.#.#.# is the public IP address you just found in the portal.
You will be asked about the ECDSA key fingerprint the first time, so just type yes and get on with it.
Type in the password, press Enter, and voila: Welcome to Ubuntu!
When you're inside Ubuntu Server, type the following command:
ifconfig
For the eth0 adapter, you should see an inet IP address similar to 10.20.30.#.
If you've got this far, congratulations, you've done everything right.
Minimise this cmd window, we'll come back to it later.
SSH into a VMSS Instance
Back in the portal, locate your scale set in the resource group and click into it.
Under Settings, click Instances.
You should see two instances there (if you selected manual scaling with instance count 2 during setup).
Click the first one, and you'll now get information about this specific scale set instance.
Note down the Private IP address, which should be something like 10.20.30.#
Switch back to cmd
Type the following command:
ssh myuser@10.20.30.#
Where myuser is the username you created for the VMSS, and 10.20.30.# is the private IP address you just found in the portal.
Again, add the ECDSA key fingerprint, type in the password, press Enter, and boom: Welcome to Ubuntu!
You are now inside a Virtual Machine Scale Set instance, and you can run whichever commands you would like to. The user you have created has sudo privileges, so be careful!
Further experimentation
As there are multiple instances in your scale set, you can also SSH into another instance. Be aware, there is no magic going on here. What you do to instance 1 will not affect instance 2 whilst they are both running.
You may also configure all instances to handle incoming web requests in the same way, by installing a web server such as Apache, mounting a disk with /etc/fstab and then using a load balancer. However, VMSS web servers and load balancing is a little outside the realms of this article.
Summary
A VMSS contains instances. Each instance has its own IP address. Use another VM ("jumpbox") to access your instances. The VM must be on the same VNet as your VMSS.
Happy Azuring! Please remember to support me by sharing this article! 😎

